Wednesday, November 18, 2015

Rock Costume

I could not find any good DIY instructions for a manly rock costume for our Rock, Paper, Scissors costume trio. So here goes...

Step 1: Order too much on Amazon! (we get dog food in these big boxes with all this extra paper, perfect!) I cut most of the top flaps off, but left about two inches to make it rounded. Beat the box up a little and use lots of masking tape to create a more rocky shape.


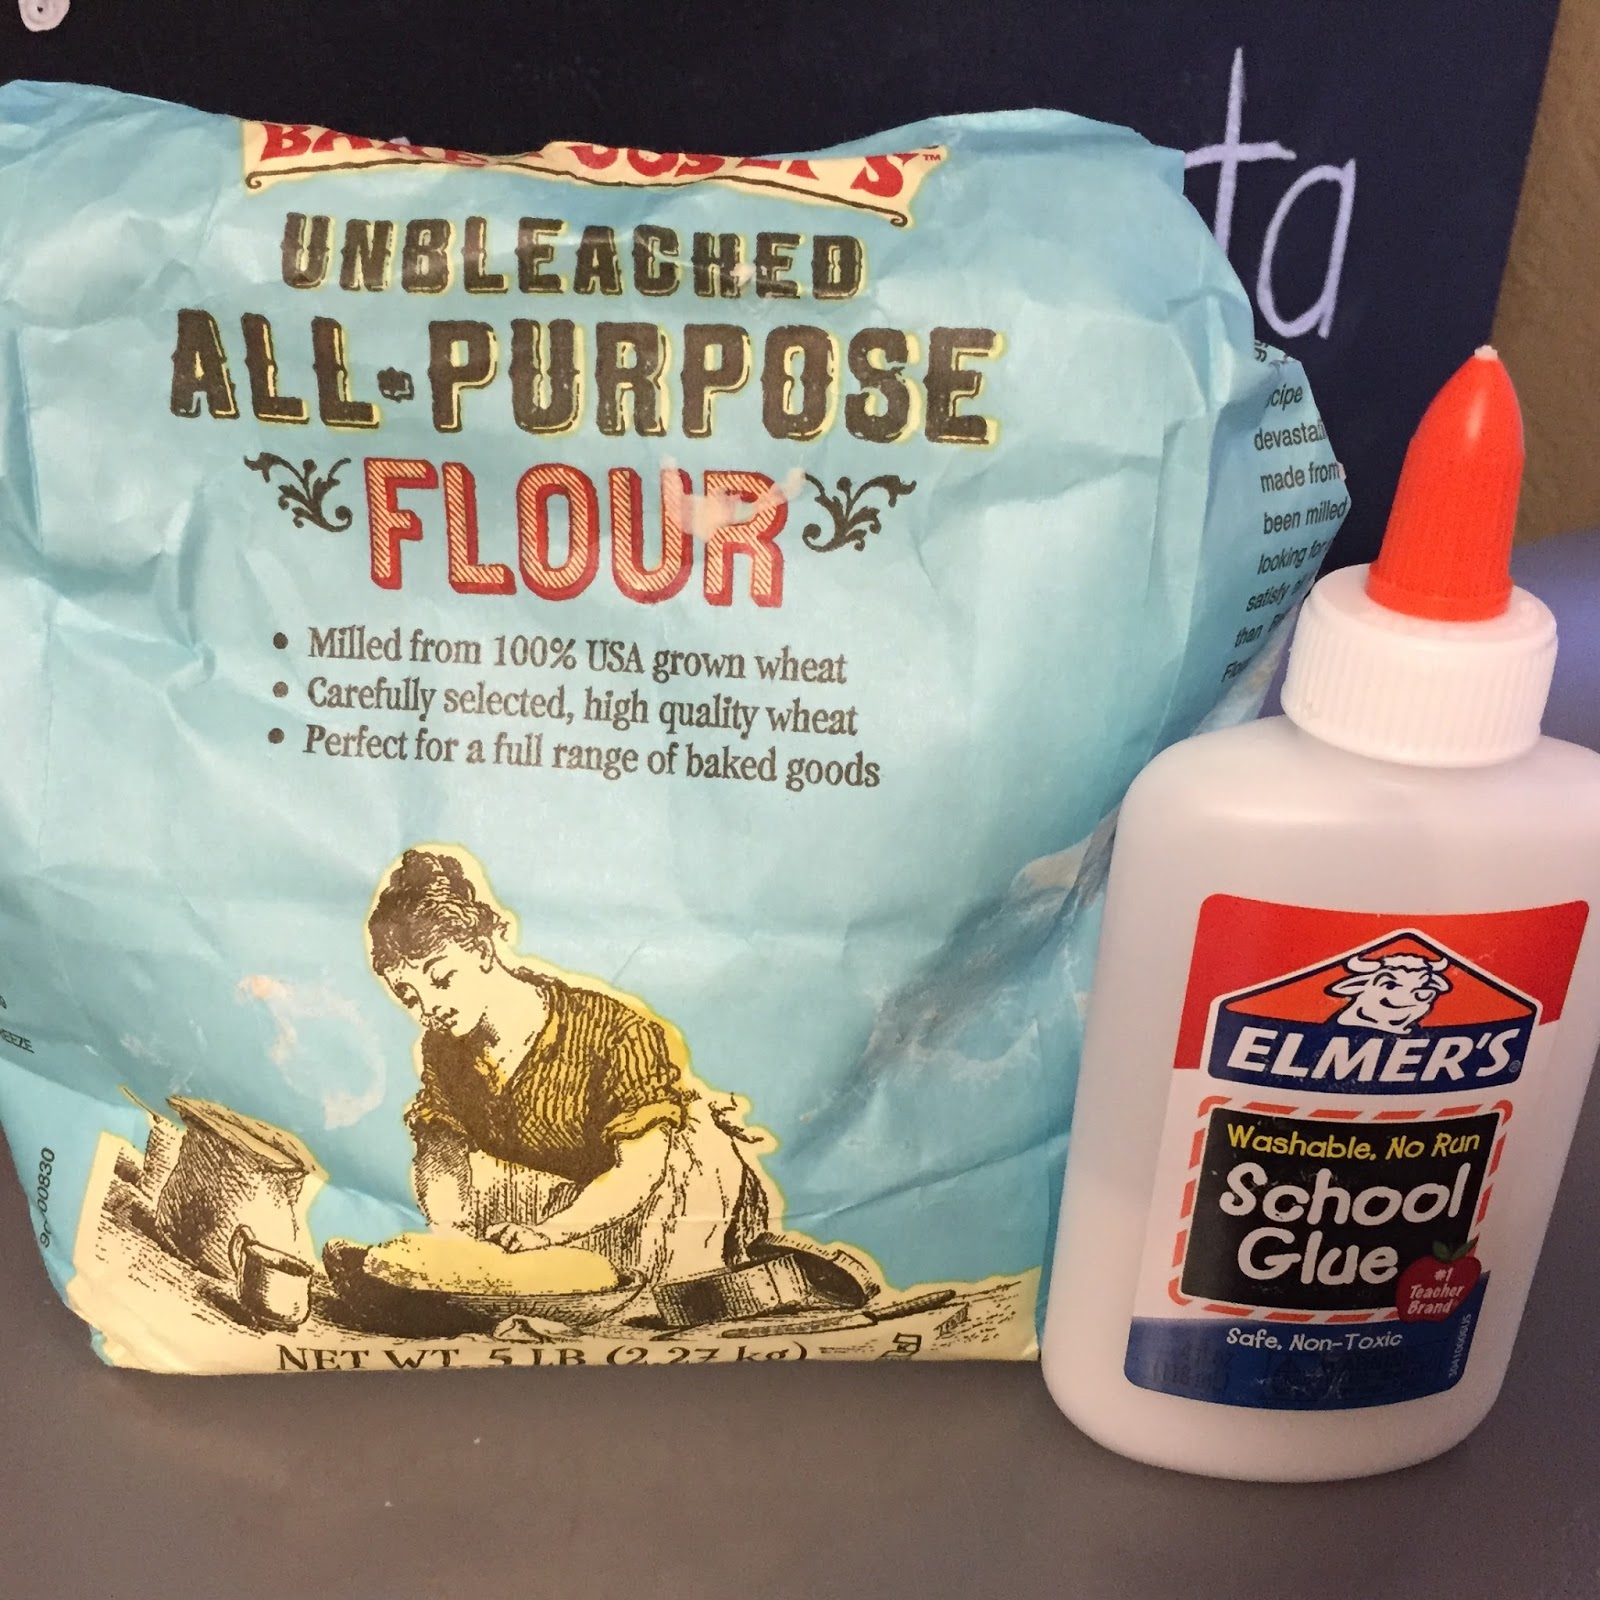
Step 2: Paper Mache - believe it or not, I've never done this. (okay I'm sure I have, but I don't really remember). It's SUPER easy. You can't mess it up. I found this paper mache recipe on pinterest. It's just 2 parts flour, 3 parts water and a some glue (I used about a forth of the bottle for each batch of 2 cups flour & 3 cups water). Then I cut the packaging paper into sections about the size of a regular sheet of paper, dip them in the paper mache mix and put them on the box. Easy as that. I tapped some extra paper under the paper mache in a few places to give the rock some lumps. I did this over three days, letting each section dry before rotating the rock. This was very messy! I should have covered the table first, but it all came off with a little scrubbing.


Step 3: Paint - Then I mixed some black and white paint to get grey. I painted some "low light" sections first with very dark gray. Then used this not so mixed paint to get different shades of grey.


Step 4: Suspenders - this was pretty heavy so we had to come up with some way to wear it without the box tearing. So after some brainstorming with a young man at Home Depot we came up with this plan. Drill holes in the box, reinforce with duct tape, hot glue washers around the hole, put the rope through and tie a not. 


I ended up taping this extra rope to the rope from the other side with duct tape. I think this gave it at little more support, but really it just looked better than have the rope pocking out.


Step 5: Happy Halloween!


Here is a tutorial for lined paper tee shirt - I just used a meter stick and some fabric sharpies.

For scissors I cut the shapes from poster board and glued ribbons on the back to tie to arms and around the waste. (someone forgot their red shirt!)

Saturday, July 18, 2015

Happy House-iversary!

Two years ago today we closed on our house! Since then we have:
Painted the kitchen cabinets, replaced the hardware and refinished the counters.
Before

Now


Painted an adorable red accent wall in the kitchen
 but kept the fruit bowl light (for now...)

Found this gem for our kitchen appliance and repainted it


Painted a chalkboard on the side of our fridge.

Refinished our living room coffee table and end table.

Recovered this chair.


Made these curtains


Swapped gold fixtures for oil rubbed bronze 
and spray painted the shower stall in the master bathroom.

Painted the master bathroom and bedroom and stenciled this accent wall.

Took down this death trap patio cover.

Built a coffee table for the game room out of pallets.

Installed a penny floor in the half bath and painted it teal.

Had the front door and shutters painted from blue to red and grey-brown


And got a new fence and a new roof.


It's kind of exhausting, but I love our house and I'm ready for the next project
 and Matt is eager to help : )

Friday, January 3, 2014

Pallet Coffee Table

It all started with a pile of pallets I picked up on the side of the road (say that five times fast)... I used the top two for this project because there were in the best condition and the same size. Didn't really have a plan when I started. Just wanted to make a coffee table for our game room. (Freckles was very helpful!)
I used white paint left over from my kitchen cabinets. I put one coat everywhere, I tried to get all the surfaces even if you wouldn't be able to see them since this is unfinished wood and felt kinda dirty... After painted I sanded to make it distressed and to make sure the areas you would touch when its done were smooth (the sides and the outside areas of the top).Then I stenciled these details and stripes in red, and sanded back over them.WEAR A MASK! Especially when sanding over paint, you will feel sick the next day if you don't, trust me.
I painted the bottom and sides of the other pallet with red paint I had left over from an accent wall. This paint was really cheap and took 4 coats to cover the wall but I love how it turned out here. The wood grain and even some numbers on the side show through the paint. Then I sanded it lightly again to look distressed.
For the top I sanded A LOT! I wanted it to be perfectly smooth. Then I put three coats of stain to make it pretty dark and three coats of sealant so I wouldn't have to stress about coasters. (Seems a little silly to insist on coasters to protect a pallet...) I also sealed over the red and white paint just to be safe.
The table needed to be about 20 inches tall so I got these 6 inch blocks cut at Home Depot from a 4x4 piece of pine (about $13). Then just sand and stain like the top of the table. Then I used wood glue and "L" brackets to attach the blocks. It gets a little tricky for the second pallet since the drill can't reach all the angles. I had to mark where all the brackets went, the drill them in to the pallet separately then put it together and drill into the blocks. 
The casters were the most expensive part (about $9 each at Home Depot). I like the industrial look they give it plus they have red wheels! They were shiny silver so I painted them the my trusty Rustoleum spray paint. 
I LOVE how it turned out! We had friends over last night and broke the table in with a football game, dinner, drinks and even a few cards games. It was perfect : )