Step 1: Order too much on Amazon! (we get dog food in these big boxes with all this extra paper, perfect!) I cut most of the top flaps off, but left about two inches to make it rounded. Beat the box up a little and use lots of masking tape to create a more rocky shape.
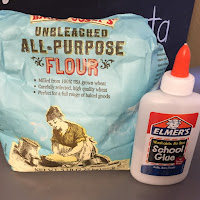
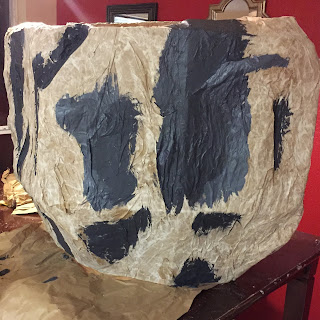
Step 2: Paper Mache - believe it or not, I've never done this. (okay I'm sure I have, but I don't really remember). It's SUPER easy. You can't mess it up. I found this paper mache recipe on pinterest. It's just 2 parts flour, 3 parts water and a some glue (I used about a forth of the bottle for each batch of 2 cups flour & 3 cups water). Then I cut the packaging paper into sections about the size of a regular sheet of paper, dip them in the paper mache mix and put them on the box. Easy as that. I tapped some extra paper under the paper mache in a few places to give the rock some lumps. I did this over three days, letting each section dry before rotating the rock. This was very messy! I should have covered the table first, but it all came off with a little scrubbing.
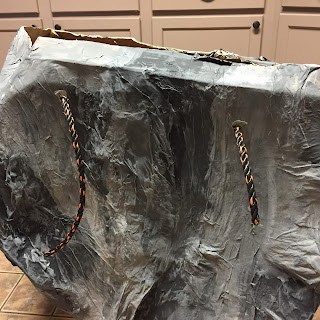
Step 3: Paint - Then I mixed some black and white paint to get grey. I painted some "low light" sections first with very dark gray. Then used this not so mixed paint to get different shades of grey.
Step 4: Suspenders - this was pretty heavy so we had to come up with some way to wear it without the box tearing. So after some brainstorming with a young man at Home Depot we came up with this plan. Drill holes in the box, reinforce with duct tape, hot glue washers around the hole, put the rope through and tie a not.
I ended up taping this extra rope to the rope from the other side with duct tape. I think this gave it at little more support, but really it just looked better than have the rope pocking out.
Step 5: Happy Halloween!
For scissors I cut the shapes from poster board and glued ribbons on the back to tie to arms and around the waste. (someone forgot their red shirt!)


So crafty! Love. :)
ReplyDeleteSo crafty! Love. :)
ReplyDelete